Grouped the way the inspector is, top to bottom. For every control: what it does, the range it runs over, what it starts at, and when it shows up. Sizes marked "px" are pixels in a 1080-high frame, and they scale with the frame, so a 4 px outline is 8 px in a 2160-high frame and looks the same.
Licensing
Status · Buy · Help
Reads Trial or Licensed. During the trial a Buy button takes you to SVG Draw in FxFactory. Help opens this manual in your browser.
The Presets ▾ button opens a menu: Save Current Settings… at the top, then Default, then the built-in looks under Hand-Drawn, Logo and Glow and FX, then My Presets. The button shows the name of the last preset you applied. Each pick is one Undo step. More in The 18 looks and Your own presets.
Click to load an SVG. The file is stored in the project, so the original is not needed afterward. Once loaded, the row shows the name, the number of paths and layers, a picture of the finished art, and in orange the first note about anything that was changed or left out. If a file will not load, the row says Could not load and gives the reason.
Recolor and Color
Popup + color
Original keeps the file's own colors. Single Color paints every fill and every line in the Color you pick, gradients included (they become solid), so one file can match any video. Handy for a dark logo over dark footage: switch to Single Color and pick white. The drawn trace line follows the new color too, unless you gave it its own. Color is keyframeable.
Default Original · Color white
Fit Art to Frame sizes the drawing itself to 80% of the frame and centers it, ignoring any empty margin in the file. Fit Canvas to Frame fits the whole SVG page, margins and all, so artwork that sits off-center on its page stays where the designer put it. Original Size uses the file's own size, one SVG unit to one pixel of a 1080-high frame.
Default Fit Art to Frame
Position X and Position Y
Percent · keyframeable
Moves the art. 0% is the center, and 100% puts the middle of the art on the edge of the frame (with Fit Canvas to Frame or Original Size, the middle of the SVG page). Positive Y moves up. The slider drags from -100% to 100%. Type a number to go as far as -200% or 200%, fully off screen, which is how you fly art in from outside the frame with two keyframes.
Default 0% · 0%
Scale
1% to 400% · keyframeable
Sizes the art up or down from where Fit put it.
Default 100%
Rotation
-360° to 360° · keyframeable
Spins the art around its own middle, wherever Position has put it, with the same dial and direction as rotation everywhere else in Final Cut Pro and Motion.
Default 0°
How each piece appears.
- Trace: lines draw along their path. Filled areas arrive (the way Fill Reveal says) once each piece is halfway drawn. A shape with no line shows no line.
- Trace Outline: a line draws around each filled shape first, then the fill arrives. Shapes that have their own line trace that line instead. The drawn outline fades away at the end unless you keep it.
- Wipe: each piece is revealed by a straight wipe, in the Wipe Direction you pick (Left to Right, Right to Left, Top to Bottom, Bottom to Top).
- Center Out and Outside In: each piece opens like an iris from its middle, or closes in from its edges.
- Pop: each piece scales up with a little overshoot, and is fully visible in the first fifth of its time.
- Fade: each piece fades in.
- Grow: each piece scales up from its own center.
Default Trace Outline
What counts as one piece. Whole Graphic: everything at once, as one. Layers: each top-level group (or text block) in the file. Shapes: each path. Pieces: each separate island of every shape, so a word saved as one shape still draws letter by letter.
Default Shapes
Order and Random Seed
Popup · 12 orders
Which piece goes first. File Order, Left to Right, Reading Order (lines top to bottom, each left to right, for text and handwriting), Right to Left, Top to Bottom, Bottom to Top, Center Out, Outside In, Largest First, Smallest First, Random, and All Together (every piece starts at once). Random shuffles the same way on every Mac until you change the Random Seed (1 to 9999), so a render looks like the preview.
Default Left to Right · Seed 1
Path Direction
Trace styles
Which end of each line the drawing starts from. As Drawn follows the file. Reverse flips every line. Auto leaves closed shapes alone and turns open lines so they run left to right (or top to bottom when both ends sit one above the other), so handwriting reads the right way even if it was drawn backwards.
Default Auto
How much each piece overlaps the one before. At 0% a piece starts when the last one is done. At 50% it starts halfway through. At 100% they all go together.
Default 0%
Constant Pen Speed gives each piece time in proportion to its length, so the pen moves at one speed like a real hand. Equal Time per Piece gives every piece the same time, so tiny dots and long swooshes take equally long. The other styles draw on with equal time per piece, and the row stays visible for them but does nothing.
Default Constant Pen Speed
Duration and Start Delay
0 to 30 s
Duration is how long the whole draw takes, from the first piece starting to the last piece finishing. Start Delay waits that long into the clip before anything draws. If the delay, the draw and the draw-off do not fit in the clip, the draw and the draw-off are shortened together so they do, and the delay stays as you set it.
Default Duration 3 s · Start Delay 0 s
Linear, Ease In, Ease Out or Ease In and Out, applied to each piece on its own, so every stroke speeds up and settles like a hand would. Pop ignores it: its bounce has its own timing.
Default Ease In and Out
How the filled areas arrive: in Trace once each piece's line is halfway drawn, in Trace Outline once the outline is done. Fade fades them in. Wipe Along Stroke wipes them in with a straight wipe that starts where the shape's longest line starts. Instant drops them in at once. None never fills: a line drawing only. With None, turn on Keep Trace Line too, or the outline fades away at the end and leaves nothing.
Default Fade
Keep Trace Line, Width, Color
Trace Outline
These shape the outline that Trace Outline draws around filled shapes. Without Keep Trace Line it fades away over the end of each piece and leaves the clean fill. With it, the line stays. Trace Line Width runs 0.5 to 20 px. Trace Line Color is Match Artwork (each shape's own fill color, or the first color of a gradient) or Custom, which reveals Line Color. They only touch the drawn outline: lines that are in the file keep their own width and color.
Default Off · 2 px · Match Artwork
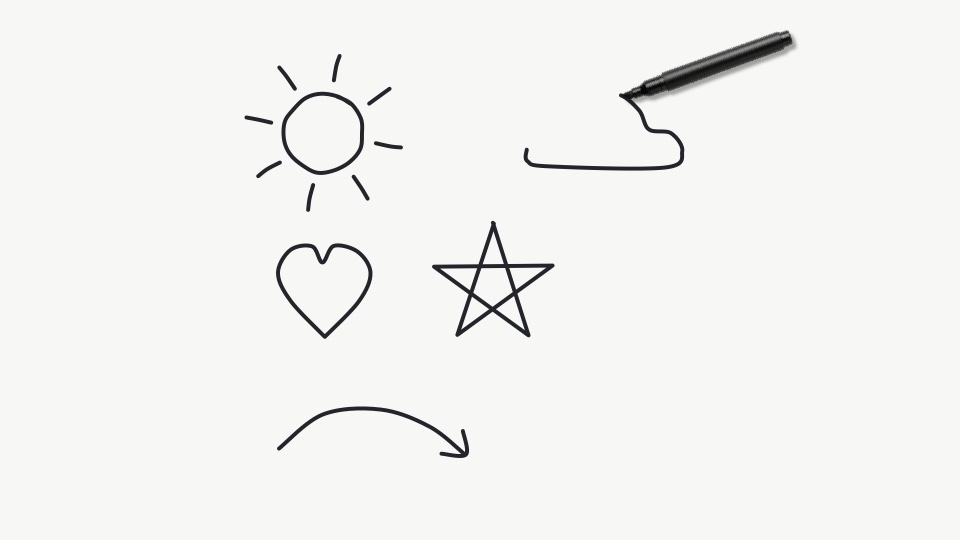
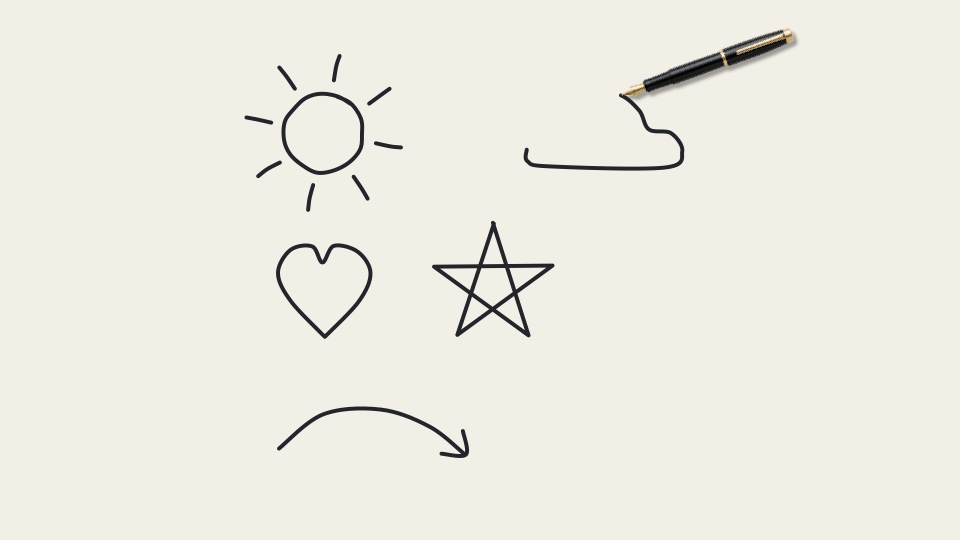
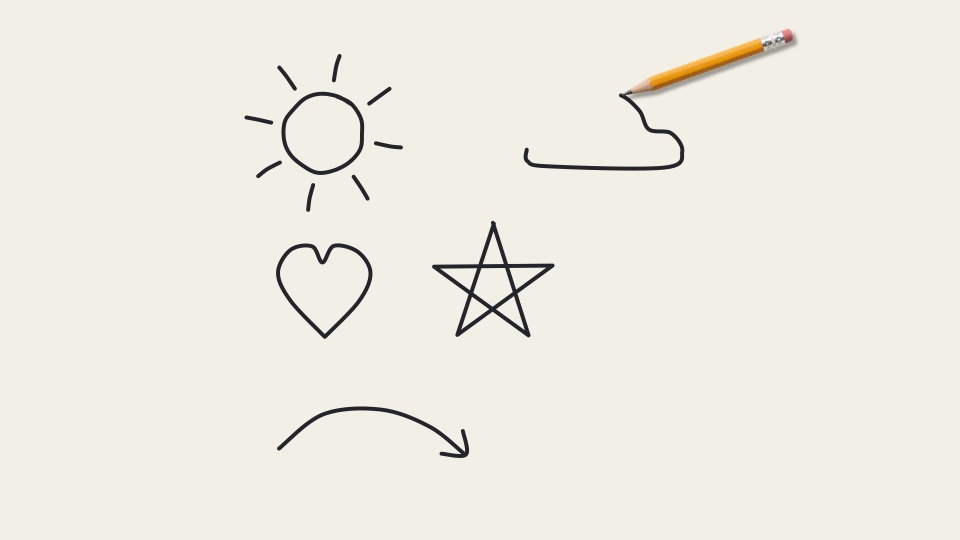
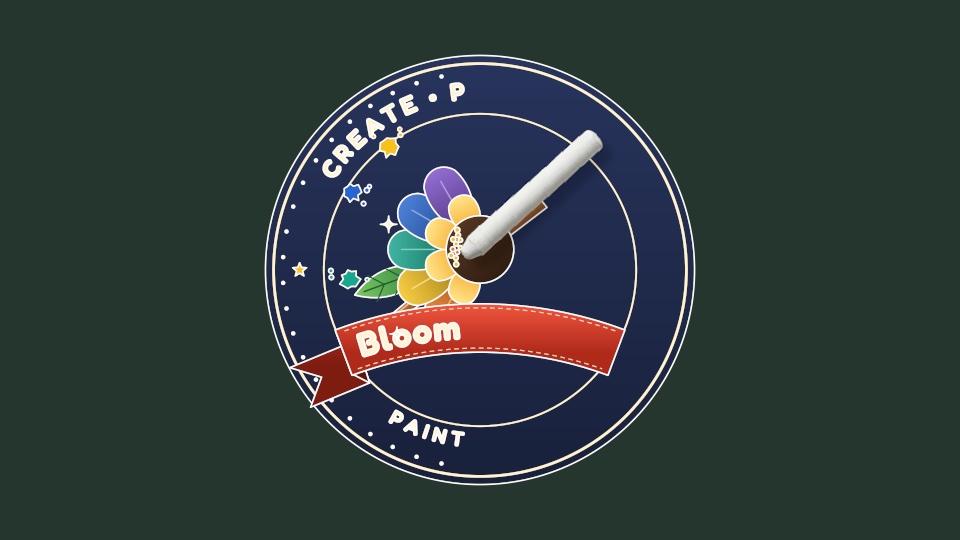
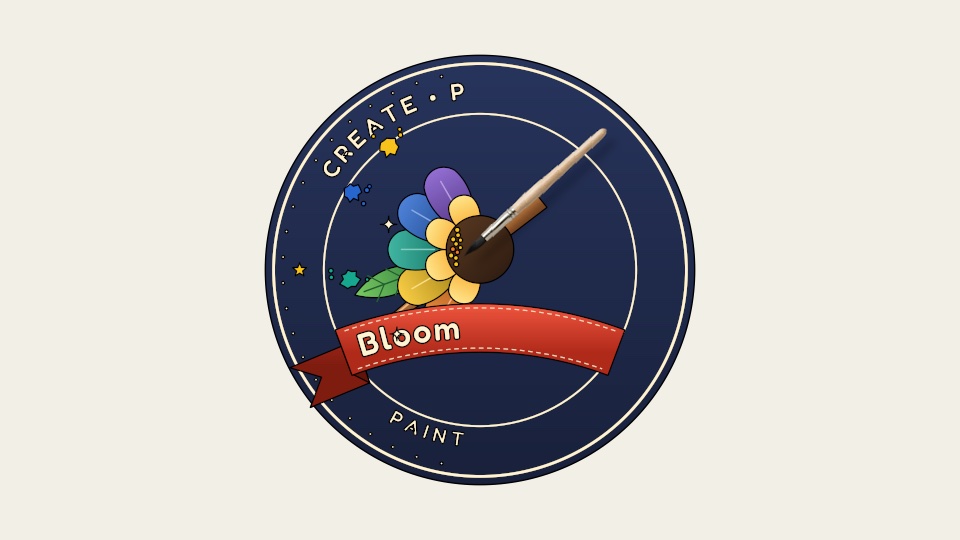
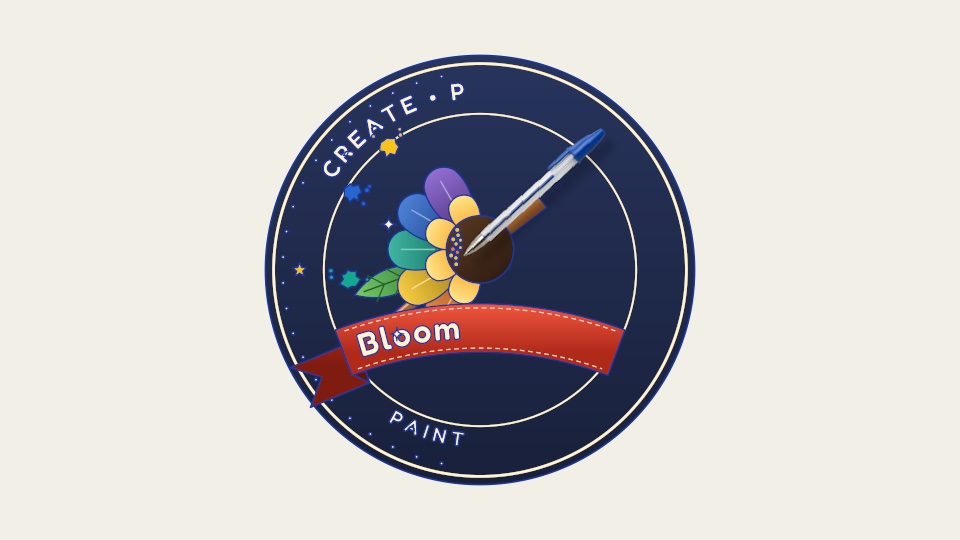
Puts something in the frame doing the drawing. None, six realistic pens (Pencil, Marker, Ballpoint, Fountain Pen, Brush, Chalk), two glowing tips (Spark and Comet), or Custom Image, a picture of your own. The pen rides the line as it draws, so it only exists for Trace and Trace Outline, and it always rides the longest line of each piece. It is drawn on top of the art, and the Look effects do not touch it.
Default None
Image, Nib X, Nib Y
Custom Image
Your own pen: a hand holding a pencil, a quill, a paintbrush, a rocket. Click Image and pick a PNG with a transparent background (JPEG, TIFF and HEIC load too; phone photos are turned upright). It is stored in the project, scaled so its long side is at most 1024 pixels. Nib X and Nib Y say where the tip touches the line, as a share of the picture's width from the left and height from the top. A small cross on the row's thumbnail shows where it is. Nothing is drawn until a picture is loaded.
Default Nib 4% · 96% (bottom left)
Up-Stroke Image, Up Nib X, Up Nib Y
Custom Image
An optional second picture used while the line heads up the screen (more than 20° upward), the way a real hand tilts differently on an up-stroke. Without it, the main picture is used throughout.
Default Empty · Nib 4% · 96%
Flip Horizontal
Custom Image
Mirrors your picture around its nib: a right hand becomes a left hand.
Default Off
Size
2% to 100% of the frame height
For a picture pen, its height as a share of the frame height. For Spark and Comet, how big the glow is, with 25% as their normal size.
Default 25%
Glow Color, Glow For, Sparks
Spark · Comet
Spark is a glowing point with a short hot thread along the line, flickering like a sparkler. Comet is a bigger head with a long tapering tail. Glow Color is the color of the glow (this is the pen's glow, separate from the Look's Glow). Glow For tells it what is behind: SVG Draw cannot see your footage, so Dark Footage glows as added light, and Light Footage switches to rich ember tones with a dark rim so the glow still shows on a bright shot. Sparks sets how many particles fly, from 0% (none, just the head and its thread or tail) to 150%.
Default Warm yellow · Dark Footage · 100%
Angle and Fixed Angle
Picture pens
Follow Path leans the pen with the direction of the line, never more than 30° either way, like a hand. Fixed holds it at the Fixed Angle you set. Choosing Custom Image switches Angle to Fixed for you, since your picture is probably already at the angle you want. You can switch it back.
Default Follow Path · 0°
Between Pieces
Glide · Jump · Hide
What the pen does between lines. Glide lifts it in a little arc and carries it to the next line, like a hand. Jump waits at the end of one line and appears at the start of the next. Hide hides it while nothing is drawing. In Trace, gliding takes its time out of the Duration, at most 30% of it, so the draw still ends on time. That only happens with Overlap at 0% and an Order other than All Together.
Default Glide
When Done
Exit · Fade · Stay
Where the pen goes when the drawing is finished. Exit slides it out of the frame over half a second. Fade fades it out. Stay leaves it at the last point. Spark and Comet do not slide: they flare and are gone while their sparks fly off.
Default Exit
A soft shadow under the pen, down and to the right, that grows as the pen lifts. This is the pen's own shadow. The art's shadow is Drop Shadow under Look.
Default On
The four Look effects are built from the art as it is on each frame, so they grow along with the drawing. They do not touch the pen.
Outline
Color · Width 0 to 40 px
A border around the outside of the art, in Outline Color, Outline Width wide. It goes around the silhouette, so pieces that touch get one shared border and no line between them. The classic sticker edge.
Default Off · white · 4 px
A soft shadow of the art (and its outline). Shadow Color, Shadow Opacity (0% to 100%), Shadow Blur (0 to 100 px), Shadow Distance (0 to 200 px), and Shadow Angle, measured the same way as Motion's own drop shadow: 315° points down and to the right.
Default Off · black · 75% · 8 px · 10 px · 315°
A soft light around the art. Glow Colors is Artwork Colors (each part glows in its own color, the neon-sign look) or Single Color, which reveals Glow Color. Glow Radius (0 to 100 px) is how far it spreads. Glow Intensity (0% to 200%) is how bright.
Default Off · Artwork Colors · 20 px · 100%
Each point of the line glows in the Hot Edge Color the moment it is drawn, brightest at the drawing point, and cools to nothing behind it, like a welding torch. Set the Cool Down (0.1 to 3 seconds, how long a point stays hot) and Hot Edge Intensity (0% to 200%). It needs Trace or Trace Outline, and it is not drawn during the draw-off.
Default Off · warm yellow · 0.5 s · 100%
What you can keyframe
Position X and Y, Scale, Rotation, the Recolor and Line colors, and every color and slider under Look. The draw itself (styles, timing, the pen) is set once per clip: to change it partway through, cut the clip in two.